

A few words about pressure canning.
First of all…
You are NOT going to blow up your house when you are pressure canning.
Let’s put this thought to rest right now! My first attempt at pressure canning took place after I’d sent the girls off to school one day, just in case, things began exploding. I had anxious visions of geysers of boiling water, a hole in the ceiling where the lid of the canner had flown off, and third degree burns. Seriously: I was a nervous wreck!
It was sort of a non-event, to be quite honest. There are some loud noises to get used to, it’s a bit alarming to put a stopper on the steam coming out of the little vent on top, and you have to patiently wait for the pressure to reduce at the end.
There are only a few ways that you are likely to hurt yourself or blow up your kitchen (and even then, it’s really really unlikely, particularly with the new canners and all their requisite safety measures).
- You use equipment that is old and faulty.
- You can something when the vent is blocked (peek through and check it each time – takes 2 seconds!)
- You allow the pressure to exceed 17 PSI and you leave it like that for an extended period of time.
- You try to remove the lid before the pressure has dispersed.
If you don’t do any of those things, you will be perfectly safe – I promise! Always read your manufacturer’s instructions, and if those instructions differ from mine, FOLLOW THEIRS!!! They are the experts on their own equipment.
Once you trump your anxiety over pressure canning (if this applies to you) then you will take your prepping to a completely different level – you can preserve your healthy, carefully sourced meats and even entire meals in shiny glass jars that line your pantry shelves.
*****
Low-acid foods have to be preserved at a higher temperature than high-acid foods. The low-acid environment welcomes the growth of bacteria like botulism, a form of food poisoning that can cause permanent nerve damage or even death.
Pressure canning exceeds the temperature of water bath canning, getting your product into the safety zone. The temperature must reach 240 degrees Fahrenheit, which can only be achieved through steam under pressure. All vegetables (except for tomatoes which are botanically a fruit), meats, seafood and poultry, must be preserved in a pressure canner.
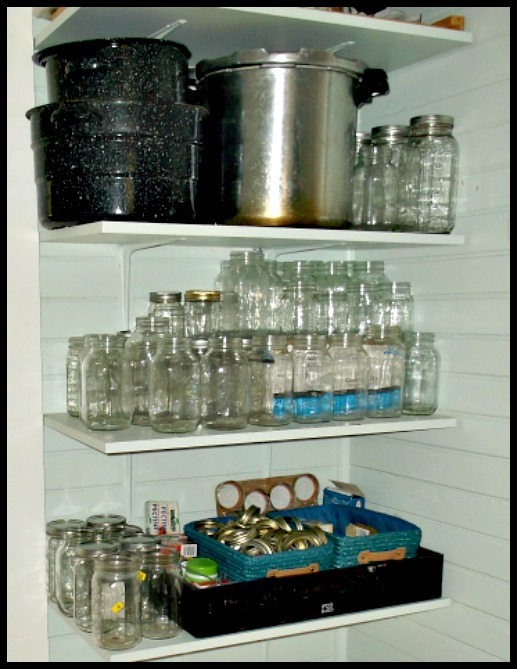
This is what you need for pressure canning:
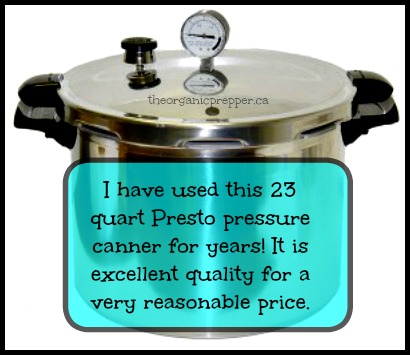
Pressure canner with valves, seals and gauges
I have THIS ONE
(If you have a glass cooktop THIS PRESSURE CANNER is approved for use on it)
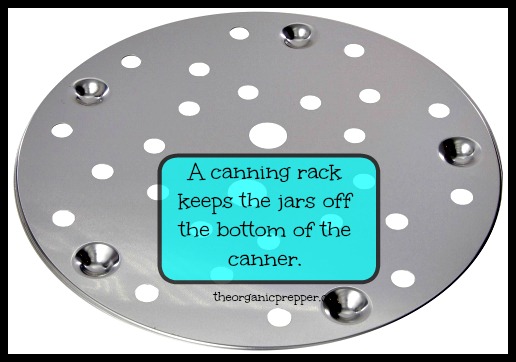
Rack
If you don’t have a rack you can use a folded towel in the bottom of the pot or get a replacement HERE
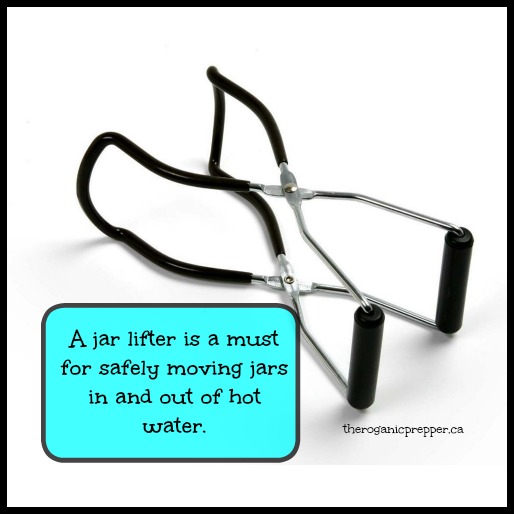
Jar lifter
This is an absolute must have to avoid burns – you can find one HERE at a very reasonable price.
I like to keep a spare on hand, just in case.
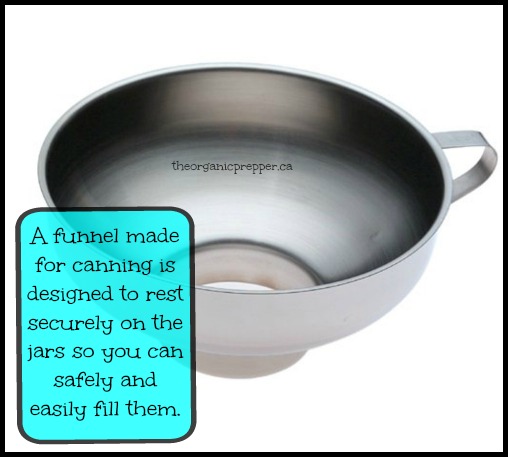
Canning jar funnel
These are designed to rest inside your jars so that you can safely ladle boiling hot contents into them without burning yourself or making a huge mess.
I like this stainless steel type that doesn’t absorb odors or leach petrocarbons into your food. You can find it HERE.
As with water bath canning, you can get all the gadgets if you want too, but these are the essentials.
Then of course you also need:
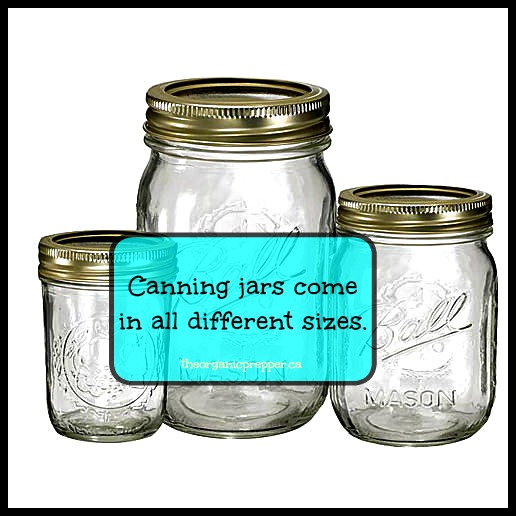
Jars
I keep all different sizes on hand for different types of canning projects.
You can find some pretty good deals HERE and they change seasonally.
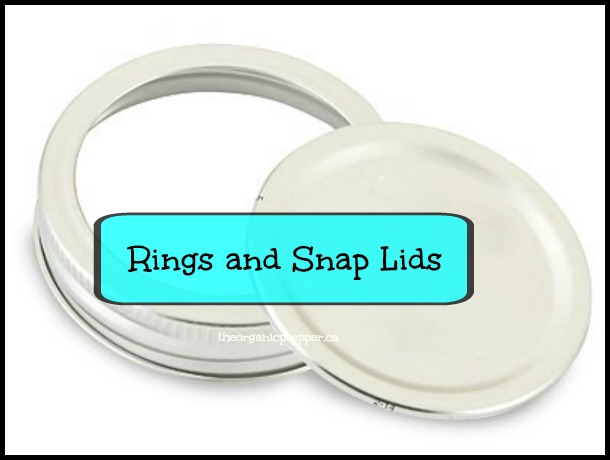
Flats (also called snap lids) and Rings
I strongly recommend THIS KIND because they are BPA-free.
THESE LIDS are also BPA-free. They’re far more expensive initially, but they’re reusable, so in the long run they are a better deal.
Easy Step-by-Step Guide to Pressure Canning
One thing you will notice about pressure canning is that nearly all of the steps are identical to the method for water bath canning. Differences (in italics) are really only related to the equipment. So, once you have learned to use your pressure canner correctly, you will find it every bit as easy as water bath canning.
Sanitize your jars, lids and rings. If you have a dishwasher, you can wash them in the dishwasher – the heat from it is enough to sterilize everything. Otherwise, you need to boil them for at least 10 minutes, lifting them carefully in and out with the jar lifter. Leave the items in the dishwasher or the hot water until ready to use.
Prepare your canner. Place your rack or folded towel in the bottom of your canner add about 3 inches of water to the canner. Most p-canners have a line to which you fill the water. In pressure canning it is not necessary for the water to cover the lids. (Always check the instructions on your individual canner – it there is a discrepancy, go with the instructions that came with your product.) At this point, you can turn the burner on low to begin warming the water, but don’t bring it to a boil yet.
Fill your jars. Line up your jars on the counter near the stove. If the surface is not heat proof, place a towel on the counter first because the filled jars will be very hot. Using the funnel, ladle the prepared product into the jars, leaving the headspace recommended in your recipe.
Put on your lids. With a dry clean dishtowel, carefully wipe the lip of the filled jars, making sure to get any residue of food off. You can dampen the dishtowel with vinegar to remove anything sticky or greasy. Place the flats on each jar, then finger tighten the rings – you don’t have to really torque on them.
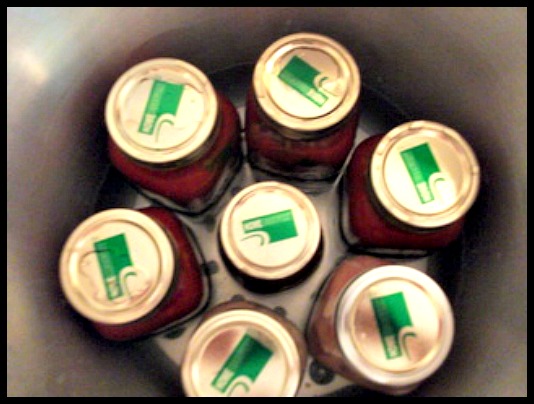
Place your jars in the canner. Place the closed jars into the canner. Be careful not to let the jars touch because not only could they break when they bump together in the boiling water, but in p-canning the steam must be able to completely circulate around the jars.
Build steam in the canner. Before putting the lid on the canner, check the vent pipe every single time to be sure it is clear. Place the lid firmly on the canner, latching it as per the specifics of your canner, and increase the heat to bring the water to a boil. At this point steam should be coming out the vent pipe. Reduce the heat until a moderate amount of steam is coming steadily out the pipe for 10 minutes. The purpose of this is to release the air and build up the steam inside the canner. If you don’t give it the whole 10 minutes, your canner will not build pressure. As patience is not my strong point, I learned this from experience.
Close the vent. After exhausting the steam for 10 minutes, depending on your canner, either close the petcock or place the weighted regulator on the vent pipe. When I place the regulator on, I always put a dishtowel around my hand, cause, yeah, steam is HOT. It sometimes makes a loud high-pitched noise when you are putting the regulator on – I scared myself the first time and screamed, causing my child to think I’d gone and blown myself up. (tee-hee) Don’t be alarmed by the various rattling, whistling and bubbling noises. P-canning is loud business.
Pressurize the canner. Turn up the heat on the burner and wait until the gauge has reached the desired pressure. (Pressure will differ based on altitudes and recipes). This usually takes 3-5 minutes. Note: if you lose pressure during processing you must re-start the processing time. Adjust the heat to maintain the pressure – this takes practice. Monitor your canner throughout the processing time to be sure the pressure is maintained. I have found that approximately #4 on the dial on my electric stove keeps my pressure between 10-12 pounds quite steadily.
Release the pressure. When your processing time is over it is time to release the pressure. It couldn’t be easier. Turn off the burner. Take the canner off the burner and put it on a heat-proof surface. Walk away. Allow the canner to return to room temperature and release pressure naturally. Don’t try to do anything to cool it down faster – that is how people get hurt p-canning. Pressure is completely reduced when the air vent/cover lock and overpressure plug have dropped and no steam escapes when the pressure regulator is tilted. The gauge, if your canner has one, should be completely at zero. This can take 45 minutes to an hour and cannot be rushed!
Open the vent. When pressure is gone, open the petcock or remove the weighted regulator. If the regulator doesn’t want to come off – there is likely still some pressure in the canner. Don’t force it – walk away for another 15 minutes. Once the vent is open, leave the canner for another 2-5 minutes.
Remove the jars from the canner. Use potholders to protect your hands while you unlatch the lid of your p-canner. Very carefully remove the lid to the canner, facing it away from you so that you are not burned by the steam that will rush out. Using your jar lifter, carefully remove the jars from the canner, one by one. Then place the jar on your towel or heat-proof surface.
Allow 12-24 hours for the jars to cool and seal. Let the jars stand in a draft-free place without being moved or bumped, usually overnight. Jars that are sealed properly will bubble away on the counter for quite some time after they are removed from the p-canner. You will hear a musical “pop” as the jars seal in the cool air – that is the lid getting sucked down and forming a seal on the jar. When you are ready to store the jars, you can remove the rings and then test the seal by pushing down with your finger. If it pops back and forth it is not sealed. Put it in the refrigerator and use the unsealed product right away. Store your sealed jars in a cool, dark place.
Resources for Canning:
Presto 01781 23-Quart Pressure Canner and Cooker
Presto 1755 16-Quart Aluminum Pressure Cooker/Canner (Safe for glass cooktops)
Presto Cooking/Canning Rack for Pressure Canner
How to Can Food in a Boiling Water Bath
Granite Ware 0707-1 Steel/Porcelain Water-Bath Canner with Rack, 21.5-Quart, Black![]()
Norpro Stainless Steel Wide-Mouth Funnel
How to Sanitize Jars for Canning
How to Adjust for Altitude When Canning
Ball Regular Mouth Lids and Bands – 12 pack
Tattler Reusable Regular Canning Lids and Rubber Rings, BPA Free, Dishwasher Safe (Pack of 12)![]()
Tattler Reusable Wide Mouth Canning Lids & Rubber Rings – 12/pkg![]()


Is there a difference in water bath v. pressure canning in terms of expiration??
Amanda ~
The expiration is approximately one year for both.
Daisy
Actually in all due fairness, you can eat food that has been canned and stored in a cool dark area for several years. The only reason I can say this with certainty is because I have done and still do it. I try to keep a 2-3 year limit, however, sometimes an occasional one slips through.
I also forgot to add the reason I store food at least 2 years. You never have a bumper crop every year of garden vegetables. Just a few years ago our tomatoes were hit with the blight. Had I eaten every jar I had canned the previous year, I would have had no tomatoes until the following year. Same with canning jams and jellies. Some years you have a bumper crop and some you don’t. It’s best to prepare for the years that may be lean!
What brand/size PCanner do you use?
Loni – I have a 23-quart Presto pressure canner. I have been very happy with it. Another very good one is the All-American. It’s very pricy, which is why I have the Presto. My recommendation is to pick up a couple of extra gaskets and regulators for it, if you go with the Presto. I have had mine for several years and never needed to replace anything, but it’s good to have those pieces on hand!
Daisy
I don’t understand why you tighten the lids on finger tight before you boil. Doesn’t this seal off the jar? If you trap the air in the jar before the boil, how is a vacuum established after it cools? Wouldn’t that be the same air?
You do it finger tight cause the metal ring expands when it gets hot. So the air is leaving while it is being canned cause of the pressure inside the jar. when it cools down on it own accord it keeps the seal on just not sealed yet. When you take it out of the canner it sometimes cools so quickly the cold/hot pressure seals the jar. The lid is loose cause of expansion. Dont tighten it! Then when the jar cools completely the lid is back to being fingertight.
My mother in law gave me her very old presto pressure canner. It has all the parts and appears to be in very good condition. I emailed the company, and they keep asking for the model number, which it does not appear to have. Do you think I should try using it?
The information is helpful, thank you for posting. I noticed that you stated the first time you pressure canned, you waited until you sent your girls off to school. In your Closing The Vent paragraph, however, you stated you screamed and caused your child to think you’d blown yourself up. Was this a true detail,or entertainment value? Again, I appreciate the information you posted, but credibility and truth are important. I do enjoy your blog.
Nope, both things happened, but just during two separate newbie canning sessions. Great catch, though.
Hi, Daisy,
Are you talking about an Instapot-type pressure cooker? Does it have to be one of those silver ones with the black handles? I got one from my sister that I think was from my grandma, fro crying out loud, but I think it had a faulty cover, so I was too scared to use it, what with the possibility of lids flying off and third degree burns sustained…heh heh.
Thanks!
No – pressure cookers and pressure canners are two different gadgets. See this article for more information.